Keyboard Mod: Jailhouse Blues
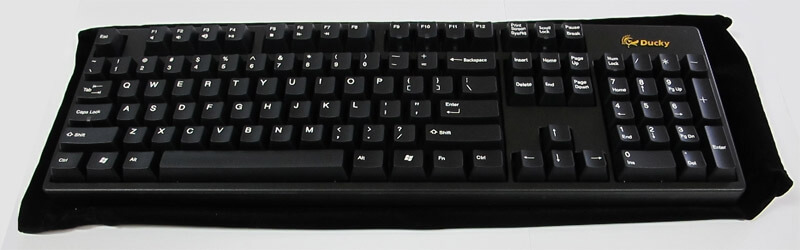
Having used mechanical keyboards for a number of years I’ve been interested in the idea of building or modding one for a while now, but put it off knowing that it was a proverbial rabbit hole. The world of mechanical keyboards is surprisingly vast with a plethora of options from layout to switch type to keycap profile and more. Having a few off-the-shelf keyboards under my sleeve I thought a good place to get started might be to just modify one of them. I happened to have an old Ducky DK9000G2 with MX Blues – my first mechanical keyboard – lying around and decided to see what I could do with that.
I had already done a couple of the easier mods over the years such as replacing keycaps and putting on o-rings to dampen the sound of the keys bottoming out. This time though I wanted to try something more involved such as lubricating the switches (or at least the stabilizers), or maybe even replacing the MX Blues all together with something else. The problem with these kind of mods on most off-the-shelf boards though is that it requires desoldering all the switches, and for anyone who has done much desoldering with just basic tools can attest, it’s a total pain. Luckily this board wasn’t LED backlit because that doubles the number of joints you need to desolder and just makes it all around more difficult. If I was going to be doing this more often I would definitely invest in a decent desoldering tool such as the Hakko FR-301. Another option would be to check with your local makerspace and see if they have one. If you plan to delve deeply into the world of mechanical keyboards, particularly with custom boards, the resources of a local makerspace can prove invaluable.
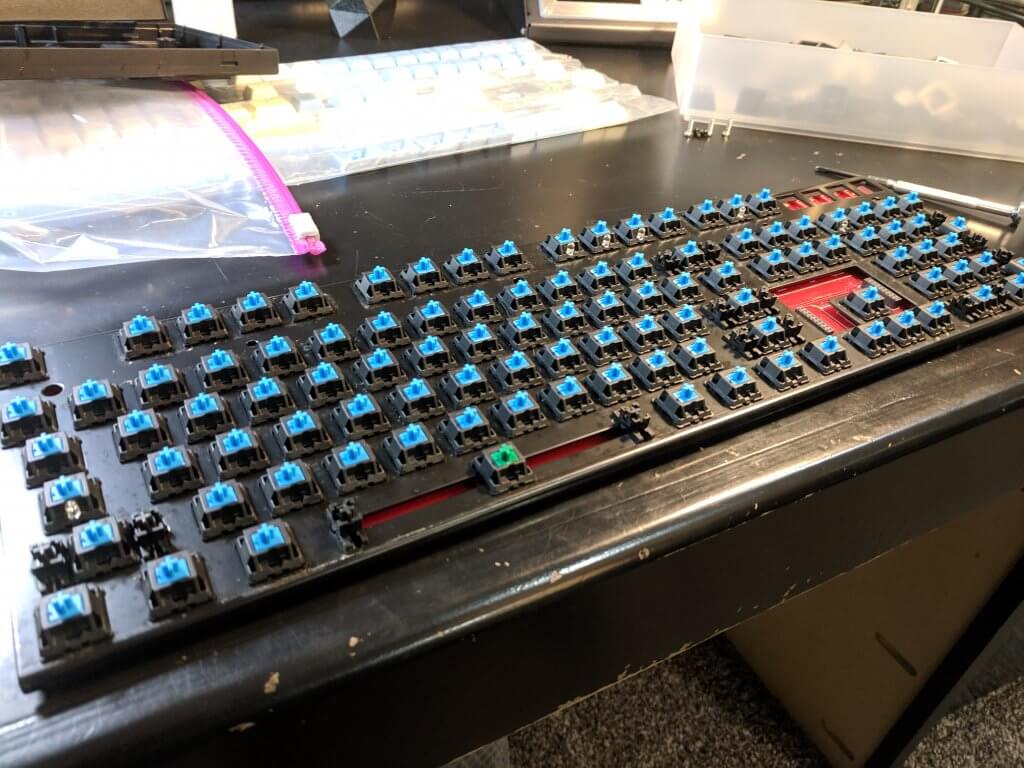
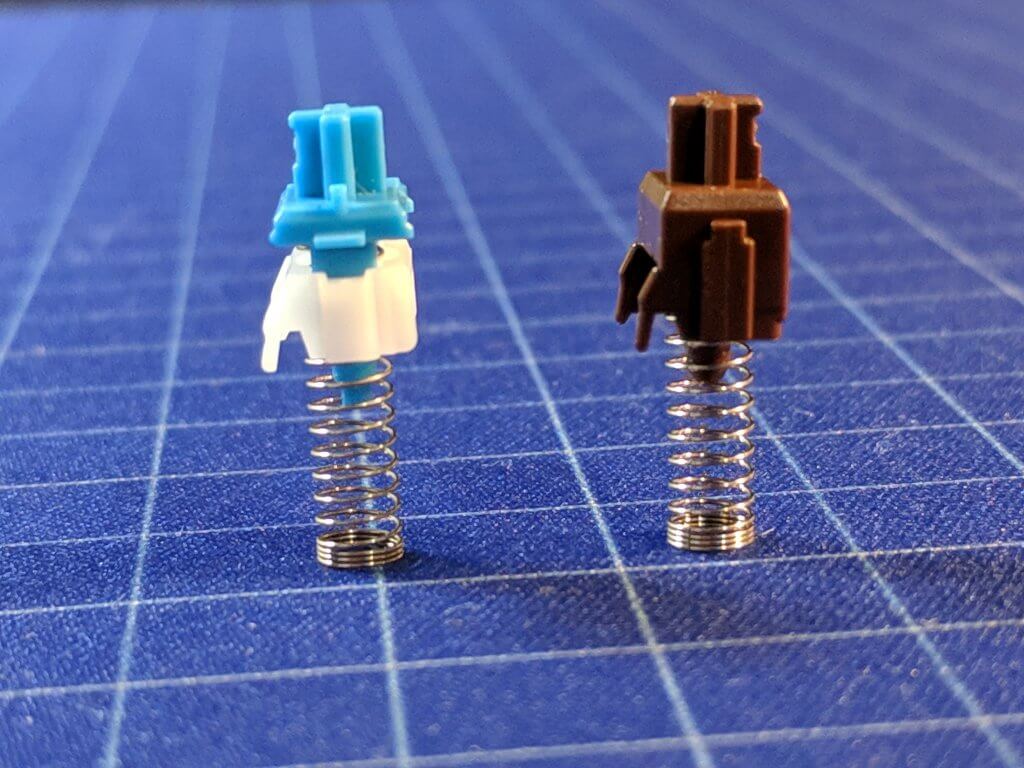
After getting everything desoldered and taken apart it was time to figure out what I wanted to do regarding switches. I had about settled on replacing them with some Kailh BOX switches when I stumbled upon the jailhouse mod. The clicking sound from Cherry MX Blues comes from a click jacket that rides on the stem and snaps up and down as it passes over the leaf spring. In the jailhouse mod you lock down the click jacket so that it can’t move which eliminates the click and moves the actuation point up higher in the keypress. The result is a switch that feels and sounds totally different.
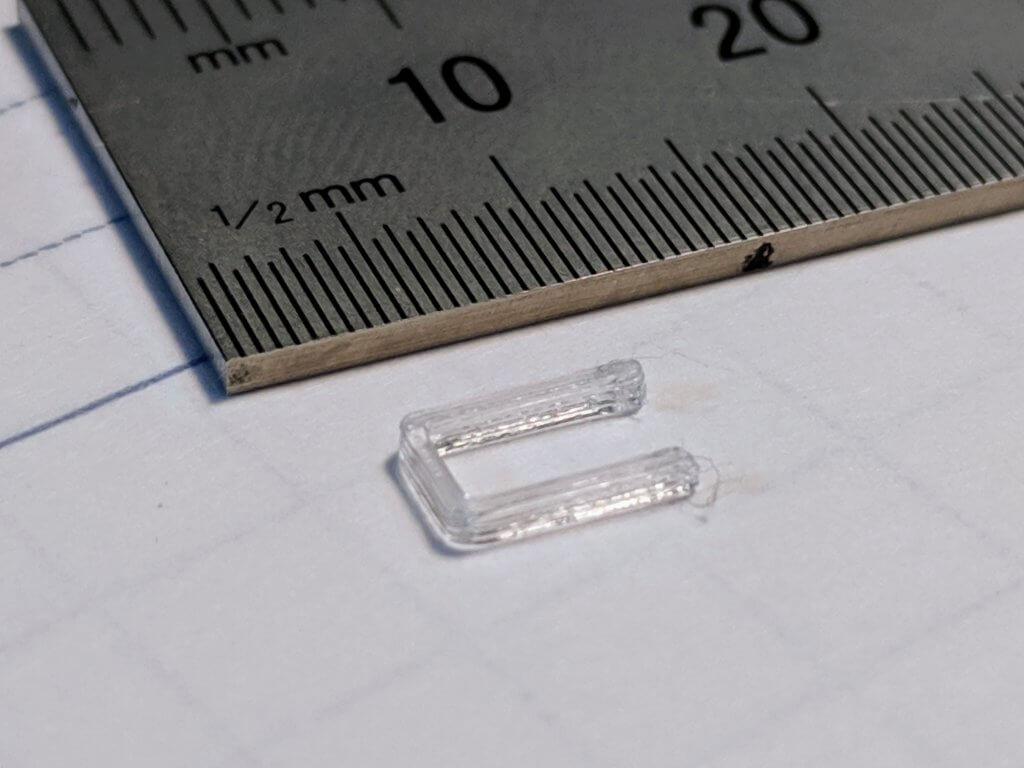
The first version of the jailhouse mod used pieces of wire to lock the click jacket in place. As you can imagine though that has the potential to be pretty time intensive and possibly inconsistent. These days most seem to do it using premade rubber spacers called JSpacers. Since I was already leaning towards replacing the switches anyways though I decided to see if I could just 3D print some spacers. After taking a few measurements and putting together a quick drawing in Fusion 360 I was ready to make the first print. (STL files can be downloaded here.)
One thing I enjoy about 3D printing smaller projects like this is that they print so quickly that it allows you to rapidly iterate your prototype. The design was relatively straightforward but with the part being so tiny there are obvious limitations on what you can achieve with a 0.4mm nozzle and standard slicer settings. For this project I used Simplify3D and its single extrusion settings so that I could do each layer in a single pass. This made the prints much faster and the clips stronger, particularly at the corners.

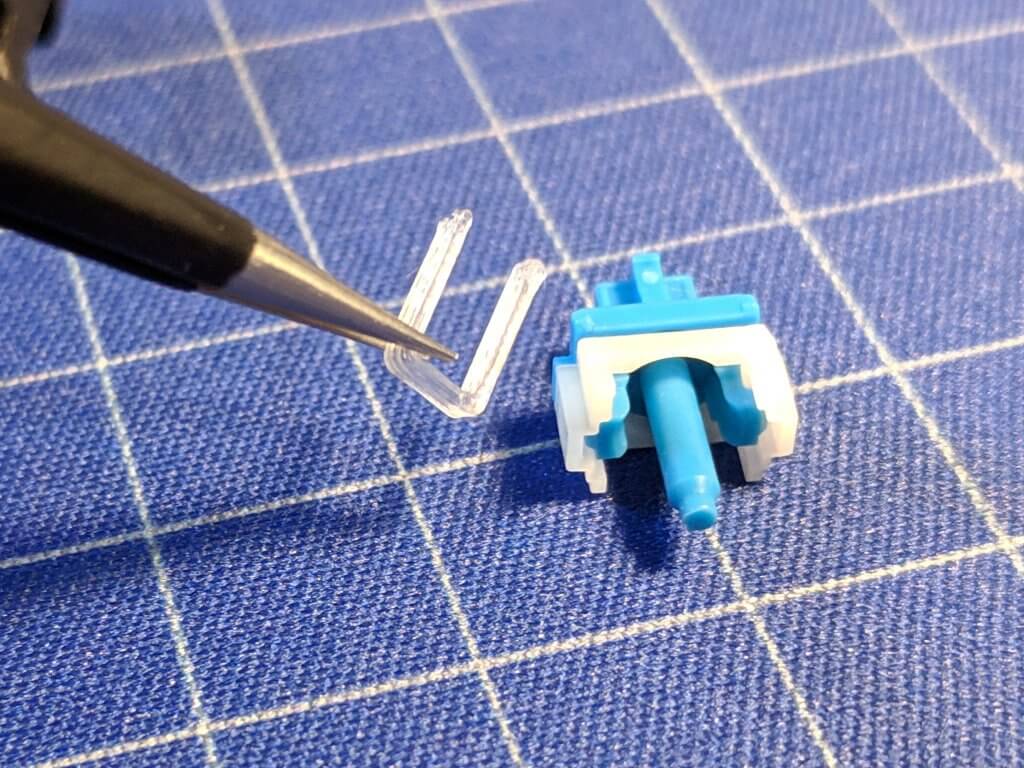
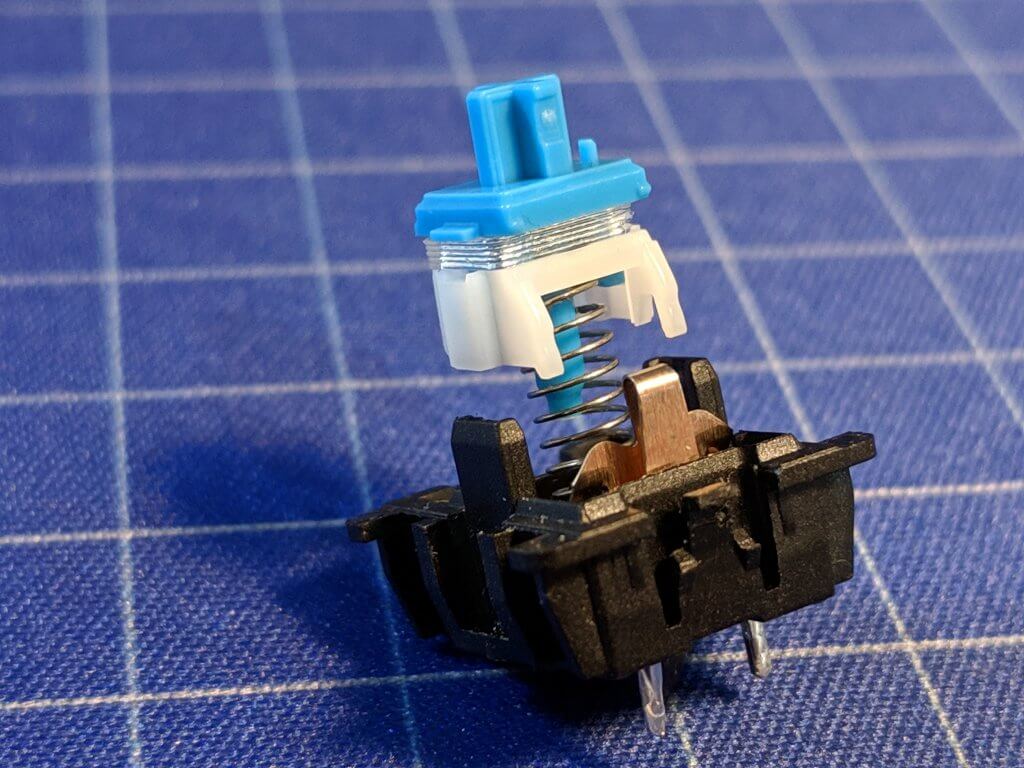
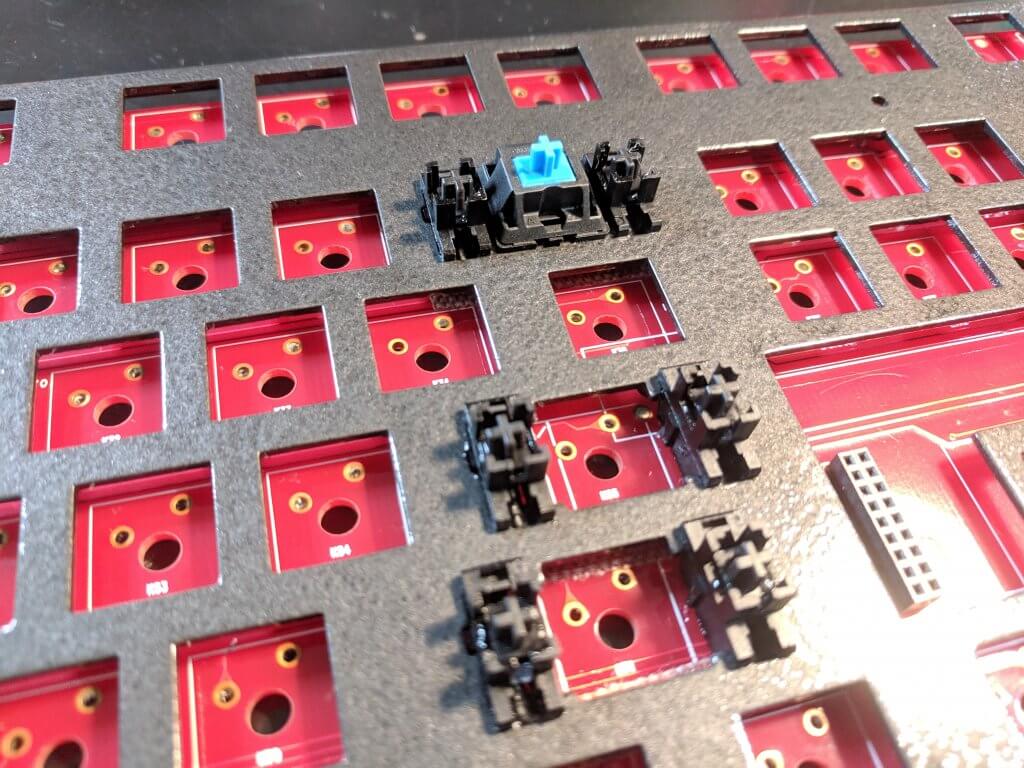
Installing the clips into the switch stems was easy enough but there were a couple unexpected consequences with the design that brought pros and cons. One side effect of the typical jailhouse mod is a noticeable increase in the force required to press the switch due to the clip pre-compressing the spring. This often leads to people swapping out their stock springs with lighter ones. With this clip being open-ended though the legs can flex out of the way just enough for the spring to seat up where it normally should. The downside to this though is that the legs bending around the spring can put pressure on the clip causing it to want to push sideways when lubricated. When the stem is inserted into the housing though the clip is constrained enough to not cause any issues.
Although the 3D printer is very precise there can still be occasional variance in the sounds between a few switches that could possibly annoy some if they are specifically looking for it. The inconsistencies weren’t too extreme or frequent though so I was able to just place those ones together in other locations, and really after getting everything put back together and keycaps on any differences were hardly noticeable.
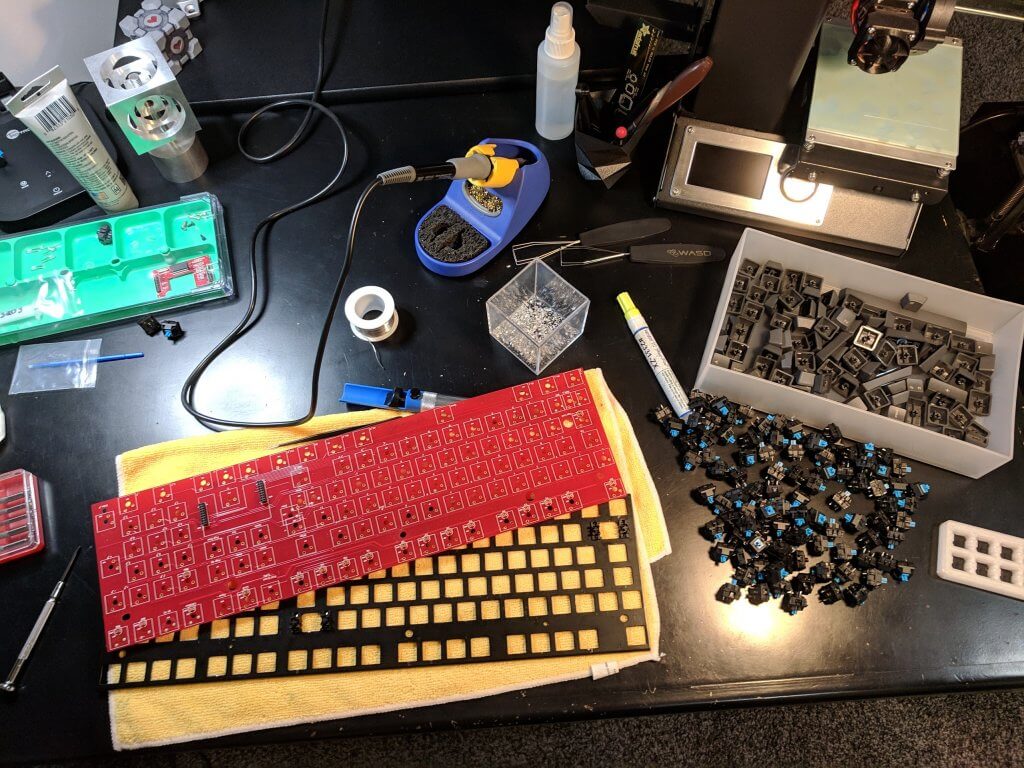
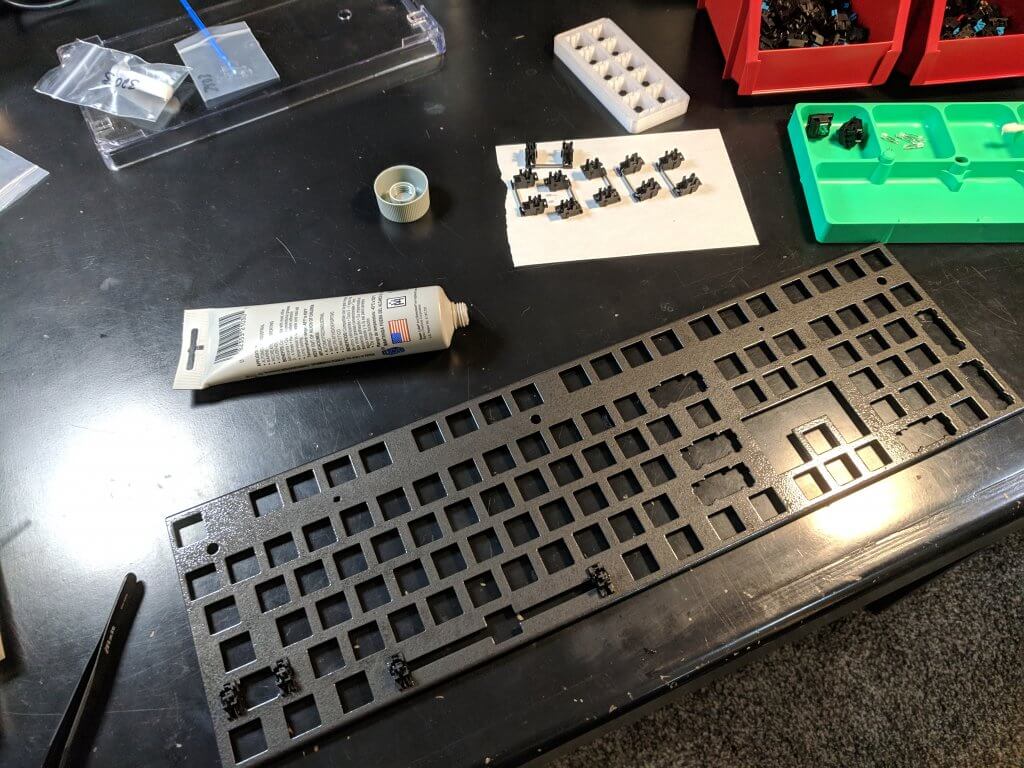
After I was done installing the clips and lubricating the switches with a bit of Tribosys 3203 I decided to repaint the steel plate to give it a hammered black look and lubricate the stabilizers with some Super Lube 21030 PTFE grease. Then it was time to get everything soldered back together and see if it still worked.
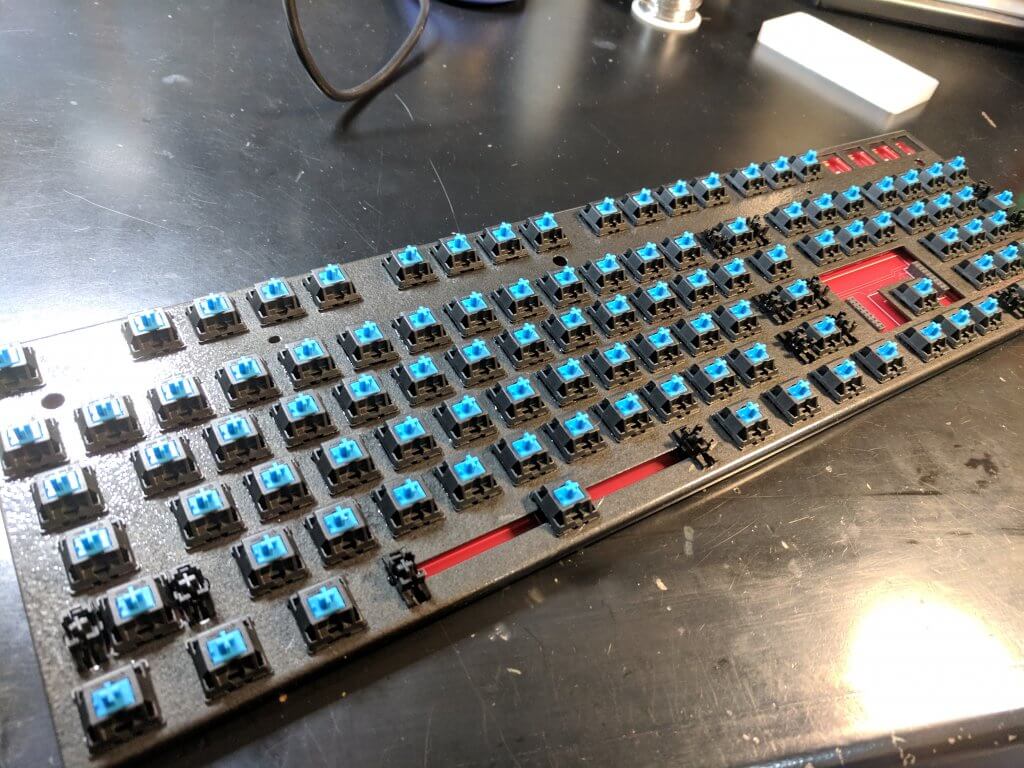

Surprisingly it worked. Mostly. I had one switch that wasn’t working right which was probably from me trying to put a top housing on backwards and incidentally damaging the leaf spring that forms the contacts. Luckily I had some extras though so it wasn’t a big deal. I tried both OEM and DSA profile PBT keycaps and though normally I prefer the former the DSA profile really worked well given the shorter activation and overall travel distance of the jailhouse blues. I found the OEM profile to be too engaging, for lack of a better term, where DSA seemed to do better with the lighter touch that works well with these switches.
All in all I’m quite happy with the results. Especially considering this project didn’t cost me anything extra as I was able to utilize materials I already had available. Just a bit of time and effort and this board was transformed to provide a whole new experience.